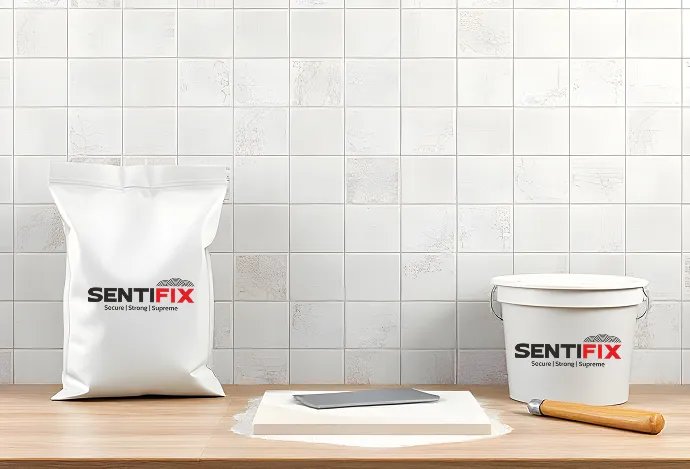
How to Use Tile Adhesive for Perfect Tile Installation
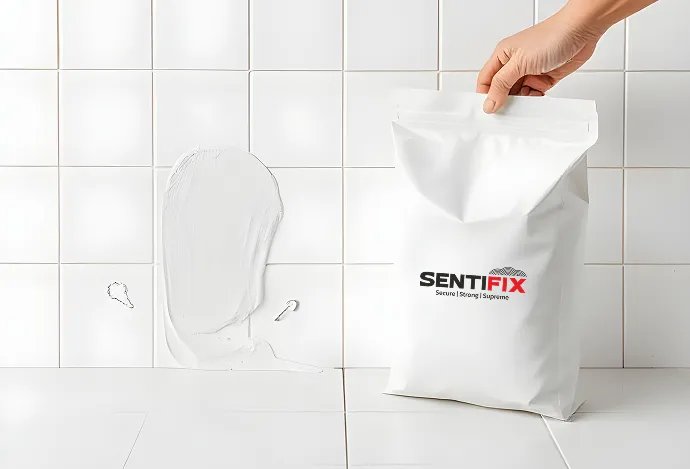
Proper tile installation starts with choosing the right adhesive. Tile adhesive ensures strong bonding and prevents tiles from shifting or cracking over time. Before applying, ensure the surface is clean, dry, and free from dust or grease. Uneven surfaces should be leveled for a seamless finish. Selecting the right adhesive depends on the type of tile and the surface it's being applied to—ceramic, porcelain, or natural stone may require different adhesives. Mixing the adhesive correctly as per the manufacturer's instructions is crucial for optimal performance.
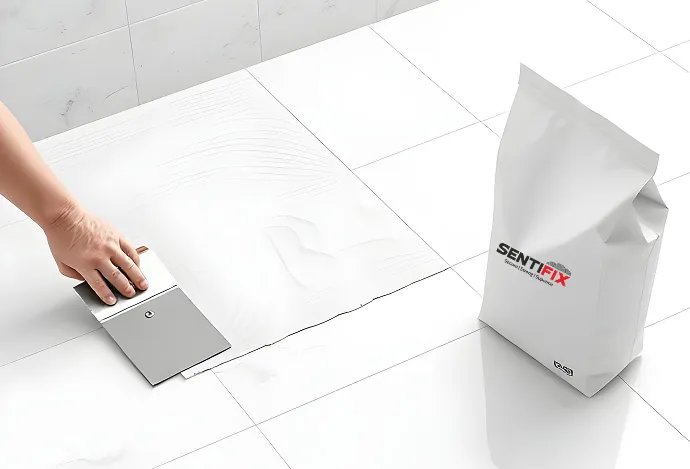
Applying the adhesive evenly is essential for a secure fit. Use a notched trowel to spread the adhesive in straight lines, ensuring even coverage. Press the tiles firmly into place, using spacers to maintain uniform gaps for grouting. Work in small sections to prevent the adhesive from drying too quickly before setting the tiles. Once all tiles are in place, allow the adhesive to cure for the recommended time before proceeding with grout application.
Check for air pockets beneath tiles by tapping gently. If any hollow sounds are detected, lift and reapply the adhesive to ensure proper bonding.
Once the adhesive has fully dried, carefully apply grout between the tiles to fill gaps and enhance durability. Wipe away excess grout with a damp sponge before it hardens.
Regular maintenance ensures long-lasting tiles. Clean spills immediately and avoid harsh chemicals that could weaken the adhesive bond. Following these steps will ensure a strong and lasting tile installation.